Cabinet Touch-Up Paint: What a Kit Fixes and What Needs the Booth
A touch-up kit handles chips, nicks and small scuffs. Here is how to repair painted cabinets yourself, and when a door should go back to the finishing booth.
· the kitchen guy
painted cabinetry is a lived-in surface. it gets knocked by bar stools, nicked by pot handles and splashed with everything in the pantry. a good finish takes that for years, but it is not invisible armor.
the question we get most after install is simple: can i fix this myself, or does the door have to go back? the answer depends on how deep the damage is and where it sits.
what a touch-up kit actually fixes
a touch-up kit is built for surface damage. think of it as spot repair, not refinishing. a proper kit includes a small amount of the exact paint color, fine artist brushes or a micro-applicator, and often a wax or filler stick for small dents.
it works well on:
- chips smaller than a pencil eraser (roughly 1/4 inch), especially on flat panel faces
- hairline scratches you can see but cannot catch with a fingernail
- scuffs from shoes, vacuum heads and stool legs on toe kicks and lower door edges
- small pinpoint dings where the color coat is broken but the wood or substrate underneath is intact
- hardware-installation nicks around new knobs and pulls
it does not fix swelling, open joints, widespread yellowing, peeling or a surface that has gone tacky from cleaners. those are finish or substrate problems, and paint on top only hides them for a few weeks.
how to use cabinet touch-up paint without making it worse
most bad touch-ups are over-touch-ups: too much paint, too thick, on a dirty surface. a few rules keep it invisible.
- clean first. wipe the area with a barely damp cloth and a drop of mild soap, then dry it completely. grease under the paint is the main reason repairs fail to bond.
- shake or stir the paint well. pigment settles, and a sheen or tone mismatch often starts here.
- build in thin layers. use the tip of a fine brush and dab, don't stroke. two or three thin coats, with 30 to 60 minutes between them, beat one fat coat.
- fill before you paint. if the chip is a true crater, press in a color-matched wax fill, level it with a plastic card, then paint.
- stop when it is level. a repair should sit flush with the surrounding finish. if it is proud, you have overdone it.
- let it cure. the paint may feel dry in an hour. give it several days before scrubbing or heavy use.
keep the kit somewhere dry, in an interior drawer and not under the sink. a bottle that has skinned over will not match anything.
where painted cabinets fail first
damage is rarely random. in new york homes, the same spots show up again and again.
edges and corners
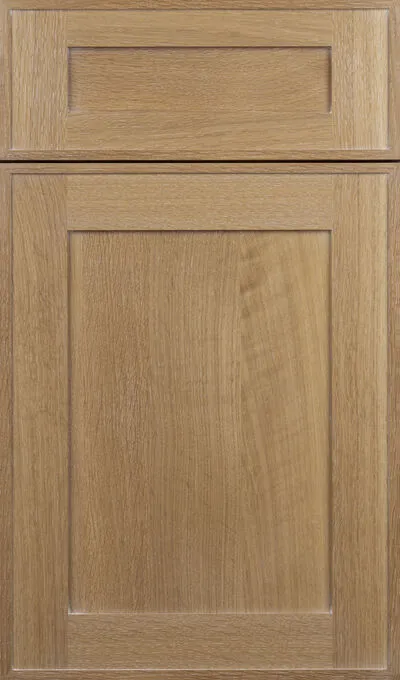
door edges take the most contact. on a slab door like Perry, the clean edges show every chip because there is no profile to hide it. a small chip on a crisp edge is a fine touch-up job. a run of chips along a whole edge means the finish is worn through, and it is time to think about the booth.
profiles, beads and moldings
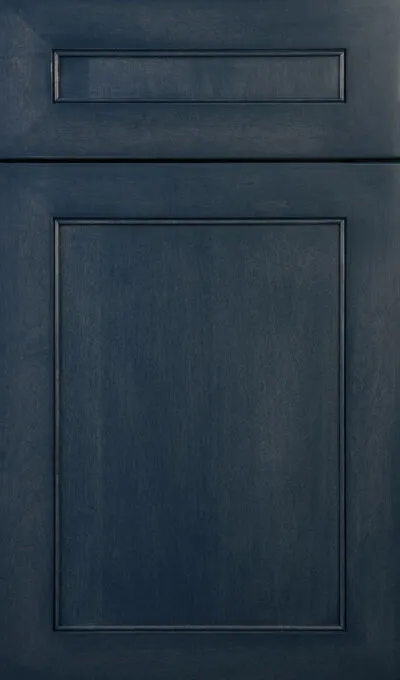
detailed doors collect wear in the grooves. on a beaded inset door such as Sag Harbor, the bead is a high-contact line where a fingertip or a dish towel hits every day. raised-panel styles like Park Slope have inside corners where paint can build up and crack over time. these are harder to repair invisibly because a brush leaves marks in a profile that a spray gun would not.
pre-war heat and humidity
steam radiators, bone-dry winters and humid summers move wood. in a pre-war co-op or a brownstone, you may see hairline cracks at door-frame joints where rails meet stiles. that is seasonal movement, not a failure. a thin touch-up in spring can close it. if the line reopens every winter, it is worth a conversation about the joint, not just the paint.
sink, dishwasher and range zones
steam from a dishwasher vent and splash at the sink front are the harshest conditions a painted door will meet. the finish should handle them, but repeated wetness at one spot will eventually get past it.
when a door goes back to the booth
some damage cannot be fixed at the kitchen counter. these are the signs a door should come off and go back to the finishing booth:
- the damage is larger than a coin, or there are more than four or five separate chips on one door
- the surface has bubbled, lifted or peeled, which means moisture or poor adhesion under the paint
- a joint has opened wider than a hairline and stays open after the season changes
- the sheen is uneven across a door after repeated spot repairs
- the color has shifted from sun exposure, common on south-facing windows, or from a harsh cleaner
- a deep gouge has hit the substrate and needs filling, sanding and a full recoat
the rule we use: if you have to look closely to find the repair, it is a touch-up. if you can see it from across the room, it is a refinish.
what the booth does that a kit can't
in the booth, the door is stripped back to a sound surface, filled where needed, sanded flat, primed and sprayed in even coats, then cured under controlled conditions. that gives a consistent film thickness and sheen across the whole face, which is the thing a brush cannot do.
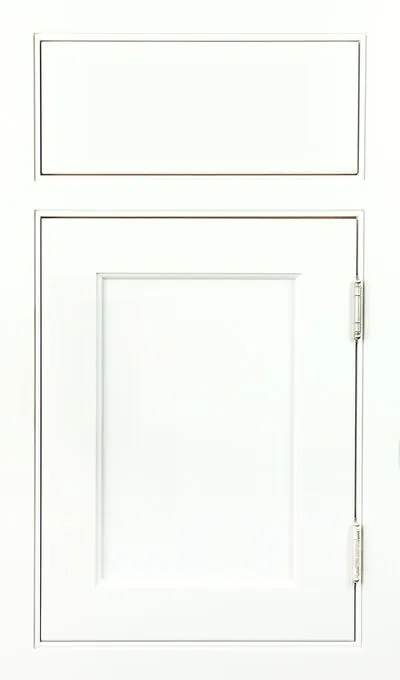
refinishing is always done door by door, not spot by spot. a single repaired door next to older neighbors can look slightly different, especially in a color that shows age or light change. for lighter shades such as Gallery White, we sometimes recommend refinishing adjacent doors in the same run so the whole elevation reads as one surface.
for planning, a returned door typically takes about two to four weeks from pickup to reinstall, depending on queue and complexity. a full run takes longer. we handle pickup and return with blanket wrapping and building freight rules in mind, because a co-op elevator reservation matters more than people expect.
if the cause of the damage is a leak or a wall problem behind the cabinet, the paint is not the issue. that needs a contractor first, and our design-build studio at thekitchenguy.pro can point you in the right direction.
living with painted cabinetry
most touch-ups are avoidable with small habits.
- clean with a soft cloth and mild soap. skip abrasive pads, bleach sprays and degreasers with solvents.
- wipe splashes at the sink and dishwasher within the day, not the week.
- fit felt or silicone bumpers on door and drawer closings so edges do not hit each other.
- keep a touch-up kit with your install paperwork, labeled with the finish name and date.
- look over doors once a year, in spring after heating season. small issues are cheap and quick to fix then.
painted finishes do age, and that is part of their character. but a door that is cared for, touched up early and refinished when it needs it will look right for decades. you can compare colors and sheens across all of our finishes before choosing a paint.
see it in person. want to judge a painted finish for yourself, or check a touch-up kit against a real door? request a sample door or book a showroom visit in Manhattan or Cedarhurst, or by appointment in South Florida.
mentioned in this note
keep reading
Hiding the Microwave: Drawers, Lift Doors & the Pantry Option
A hidden microwave cabinet can be a drawer, a lift-door garage or a pantry shelf. Here is how each is built, what it needs, and which suits a New York kitchen.
Custom Cabinet Lead Time: Why Inset Takes 10–14 Weeks
How long do custom cabinets take? Inset runs 10–14 weeks, frameless 8–10. Here is where the time goes and what you can order early.
How an Inset Cabinet Door Is Fitted: The 3/32 Reveal
Inset cabinet doors sit inside the frame with a 3/32" gap all round. Here is how that reveal is set, which hinges hold it, and why it can only be done in the shop.